
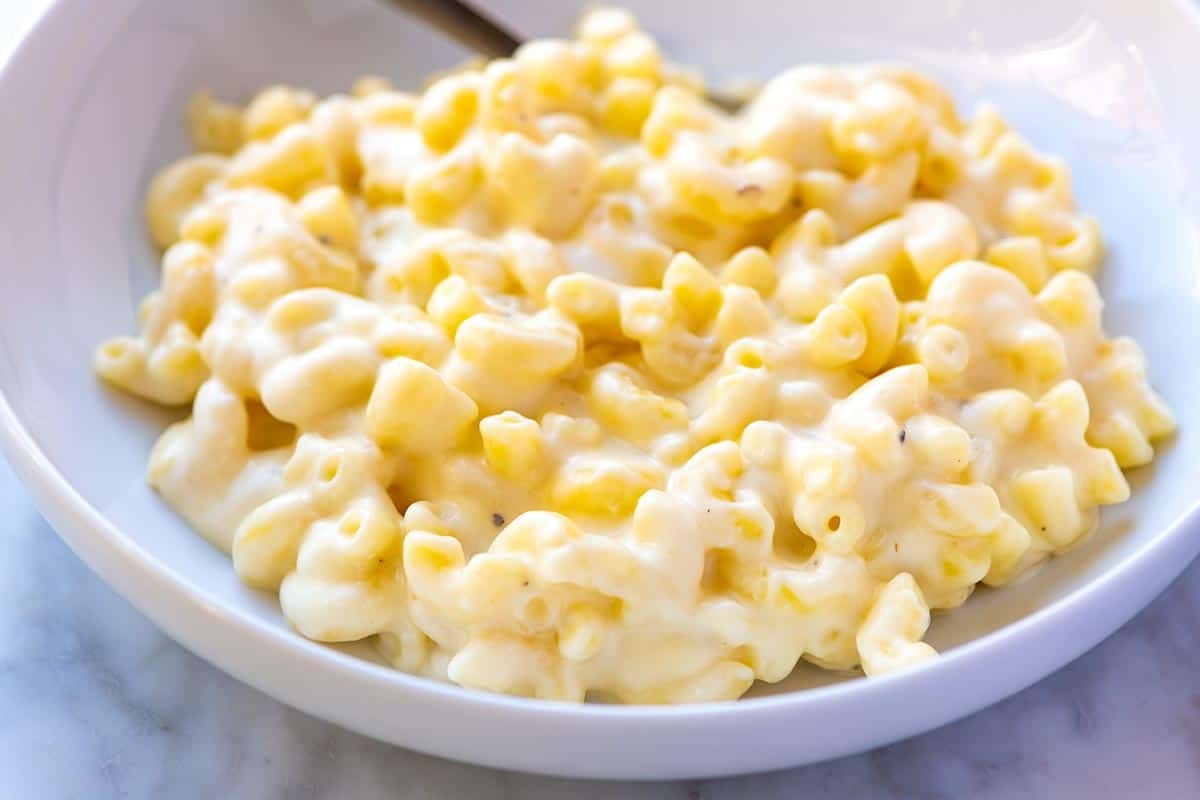
Indulge in the ultimate comfort food with this creamy mac and cheese recipe. Perfect for a cozy night in or as a side dish for a family gathering, this dish combines tender elbow macaroni with a rich and velvety cheddar cheese sauce. Simple yet satisfying, it's sure to become a household favorite.
Most of the ingredients for this recipe are common pantry staples. However, you might need to ensure you have elbow macaroni and cheddar cheese on hand. These can be found in the pasta and dairy sections of your local supermarket. Additionally, make sure you have all-purpose flour and butter, which are essential for creating the creamy sauce.
Ingredients For Mac And Cheese Recipe
Elbow macaroni: A type of pasta that is short and curved, perfect for holding onto the cheese sauce.
Cheddar cheese: A sharp and flavorful cheese that melts beautifully into a creamy sauce.
Butter: Adds richness and helps create the base for the cheese sauce.
All-purpose flour: Used to thicken the cheese sauce, creating a smooth and creamy texture.
Milk: Provides the liquid base for the cheese sauce, making it creamy and smooth.
Salt: Enhances the flavors of the dish.
Black pepper: Adds a touch of spice and depth to the cheese sauce.
Technique Tip for This Recipe
To achieve a smoother cheese sauce, make sure to whisk the milk gradually into the flour and butter mixture. This helps prevent lumps from forming. Additionally, using freshly grated cheddar cheese instead of pre-shredded cheese can result in a creamier texture, as pre-shredded cheese often contains anti-caking agents that can affect the sauce's consistency.
Suggested Side Dishes
Alternative Ingredients
elbow macaroni - Substitute with penne pasta: Penne pasta has a similar texture and will hold the cheese sauce well.
elbow macaroni - Substitute with gluten-free pasta: For those with gluten intolerance, gluten-free pasta is a suitable alternative.
shredded cheddar cheese - Substitute with gruyere cheese: Gruyere melts well and has a rich, creamy flavor.
shredded cheddar cheese - Substitute with mozzarella cheese: Mozzarella provides a gooey texture and mild flavor.
butter - Substitute with margarine: Margarine can be used as a dairy-free alternative to butter.
butter - Substitute with olive oil: Olive oil is a healthier fat option and works well in the roux.
all-purpose flour - Substitute with cornstarch: Cornstarch can thicken the sauce similarly to flour and is gluten-free.
all-purpose flour - Substitute with rice flour: Rice flour is another gluten-free option that can be used to thicken the sauce.
milk - Substitute with almond milk: Almond milk is a dairy-free alternative that works well in the sauce.
milk - Substitute with coconut milk: Coconut milk adds a slight sweetness and is a good dairy-free option.
salt - Substitute with soy sauce: Soy sauce can add a savory depth of flavor and reduce the need for additional salt.
salt - Substitute with sea salt: Sea salt can be used as a more natural alternative to table salt.
black pepper - Substitute with white pepper: White pepper provides a similar heat without the black specks.
black pepper - Substitute with cayenne pepper: Cayenne pepper adds a bit of heat and a different flavor profile.
Other Alternative Recipes
How to Store / Freeze This Dish
- Allow the mac and cheese to cool completely before storing. This prevents condensation, which can make the dish soggy.
- Transfer the mac and cheese to an airtight container. If you have a large batch, consider dividing it into smaller portions for easier reheating.
- For short-term storage, place the container in the refrigerator. The mac and cheese will stay fresh for up to 3-5 days.
- If you plan to store it for a longer period, freezing is the way to go. Wrap the container with an additional layer of aluminum foil or plastic wrap to prevent freezer burn.
- Label the container with the date to keep track of its freshness. Frozen mac and cheese can last up to 2-3 months.
- When ready to reheat, thaw the mac and cheese in the refrigerator overnight if frozen.
- Reheat in the oven at 350°F (175°C) for about 20-30 minutes, or until heated through. You can add a splash of milk to maintain its creamy texture.
- Alternatively, reheat in the microwave. Place a portion in a microwave-safe dish, cover, and heat on medium power, stirring occasionally, until hot.
- For an extra touch, sprinkle some additional shredded cheddar cheese on top before reheating to create a delicious, melty topping.
How to Reheat Leftovers
Oven Method: Preheat your oven to 350°F (175°C). Place the leftover mac and cheese in an oven-safe dish. Add a splash of milk or cream to keep it moist. Cover with aluminum foil and bake for 20-25 minutes, or until heated through. For a crispy top, remove the foil for the last 5 minutes.
Stovetop Method: Place the mac and cheese in a saucepan or skillet. Add a little milk or cream to prevent it from drying out. Heat over medium-low, stirring frequently, until warmed through. This method helps maintain the creamy texture.
Microwave Method: Transfer the mac and cheese to a microwave-safe dish. Add a splash of milk or cream. Cover with a microwave-safe lid or plastic wrap (leave a small corner open for steam to escape). Heat on medium power in 1-minute intervals, stirring in between, until hot.
Double Boiler Method: Fill a pot with a couple of inches of water and bring to a simmer. Place the mac and cheese in a heatproof bowl that fits snugly over the pot without touching the water. Stir occasionally until heated through. This gentle method prevents the cheese from separating.
Air Fryer Method: Preheat your air fryer to 350°F (175°C). Place the mac and cheese in an air fryer-safe dish. Heat for 5-7 minutes, stirring halfway through, until hot and bubbly. This method can give a nice crispy edge to the mac and cheese.
Best Tools for This Recipe
Saucepan: Used to melt the butter, cook the flour, and prepare the cheese sauce.
Whisk: Essential for gradually whisking in the milk to ensure a smooth and lump-free sauce.
Wooden spoon: Ideal for stirring the cheese sauce and combining it with the cooked macaroni.
Colander: Used to drain the cooked macaroni.
Measuring cups: Necessary for accurately measuring the milk and shredded cheddar cheese.
Measuring spoons: Used to measure the salt, black pepper, and flour.
Large pot: Needed to cook the elbow macaroni according to package instructions.
Cheese grater: If you're shredding the cheddar cheese yourself, this tool is essential.
Stovetop: Required for cooking the macaroni and preparing the cheese sauce.
Serving spoon: Used to serve the mac and cheese once it's ready.
How to Save Time on This Recipe
Pre-shred cheese: Buy pre-shredded cheddar cheese to save time on grating.
Use pre-cooked pasta: Opt for pre-cooked elbow macaroni available in stores to skip the boiling step.
Microwave the sauce: Use a microwave to quickly melt butter and mix in flour and milk for a faster cheese sauce.
One-pot method: Cook the macaroni and make the cheese sauce in the same pot to reduce cleanup time.
Pre-measure ingredients: Measure out all ingredients beforehand to streamline the cooking process.
Mac and Cheese Recipe
Ingredients
Main Ingredients
- 8 oz Elbow macaroni
- 2 cups Shredded cheddar cheese
- 2 tablespoon Butter
- 2 tablespoon All-purpose flour
- 2 cups Milk
- 1 teaspoon Salt
- ½ teaspoon Black pepper
Instructions
- Cook macaroni according to package instructions. Drain and set aside.
- In a saucepan, melt butter over medium heat. Stir in flour and cook for 1-2 minutes.
- Gradually whisk in milk. Cook and stir until thickened and bubbly.
- Reduce heat to low. Add cheese, salt, and pepper. Stir until cheese is melted.
- Add cooked macaroni to cheese sauce. Stir to coat. Serve hot.
Nutritional Value
Keywords
Suggested Appetizers and Desserts
More Amazing Recipes to Try 🙂
- Apple Coleslaw Recipe15 Minutes
- Jell-O Poke Cake Recipe45 Minutes
- Apricot Jam Recipe45 Minutes
- Gurkensalat German Cucumber Salad Recipe15 Minutes
- Brazilian Cheese Bread Recipe30 Minutes
- Fruit Salsa and Cinnamon Chips Recipe25 Minutes
- Layered Mexican Dip Recipe15 Minutes
- Bacon Jam Recipe50 Minutes
Leave a Reply